12U STOREHOUSE ASSEMBLY

Line drawing of a rectangular electronic device with side access panel and top cover, featuring indented notches and mounting holes.

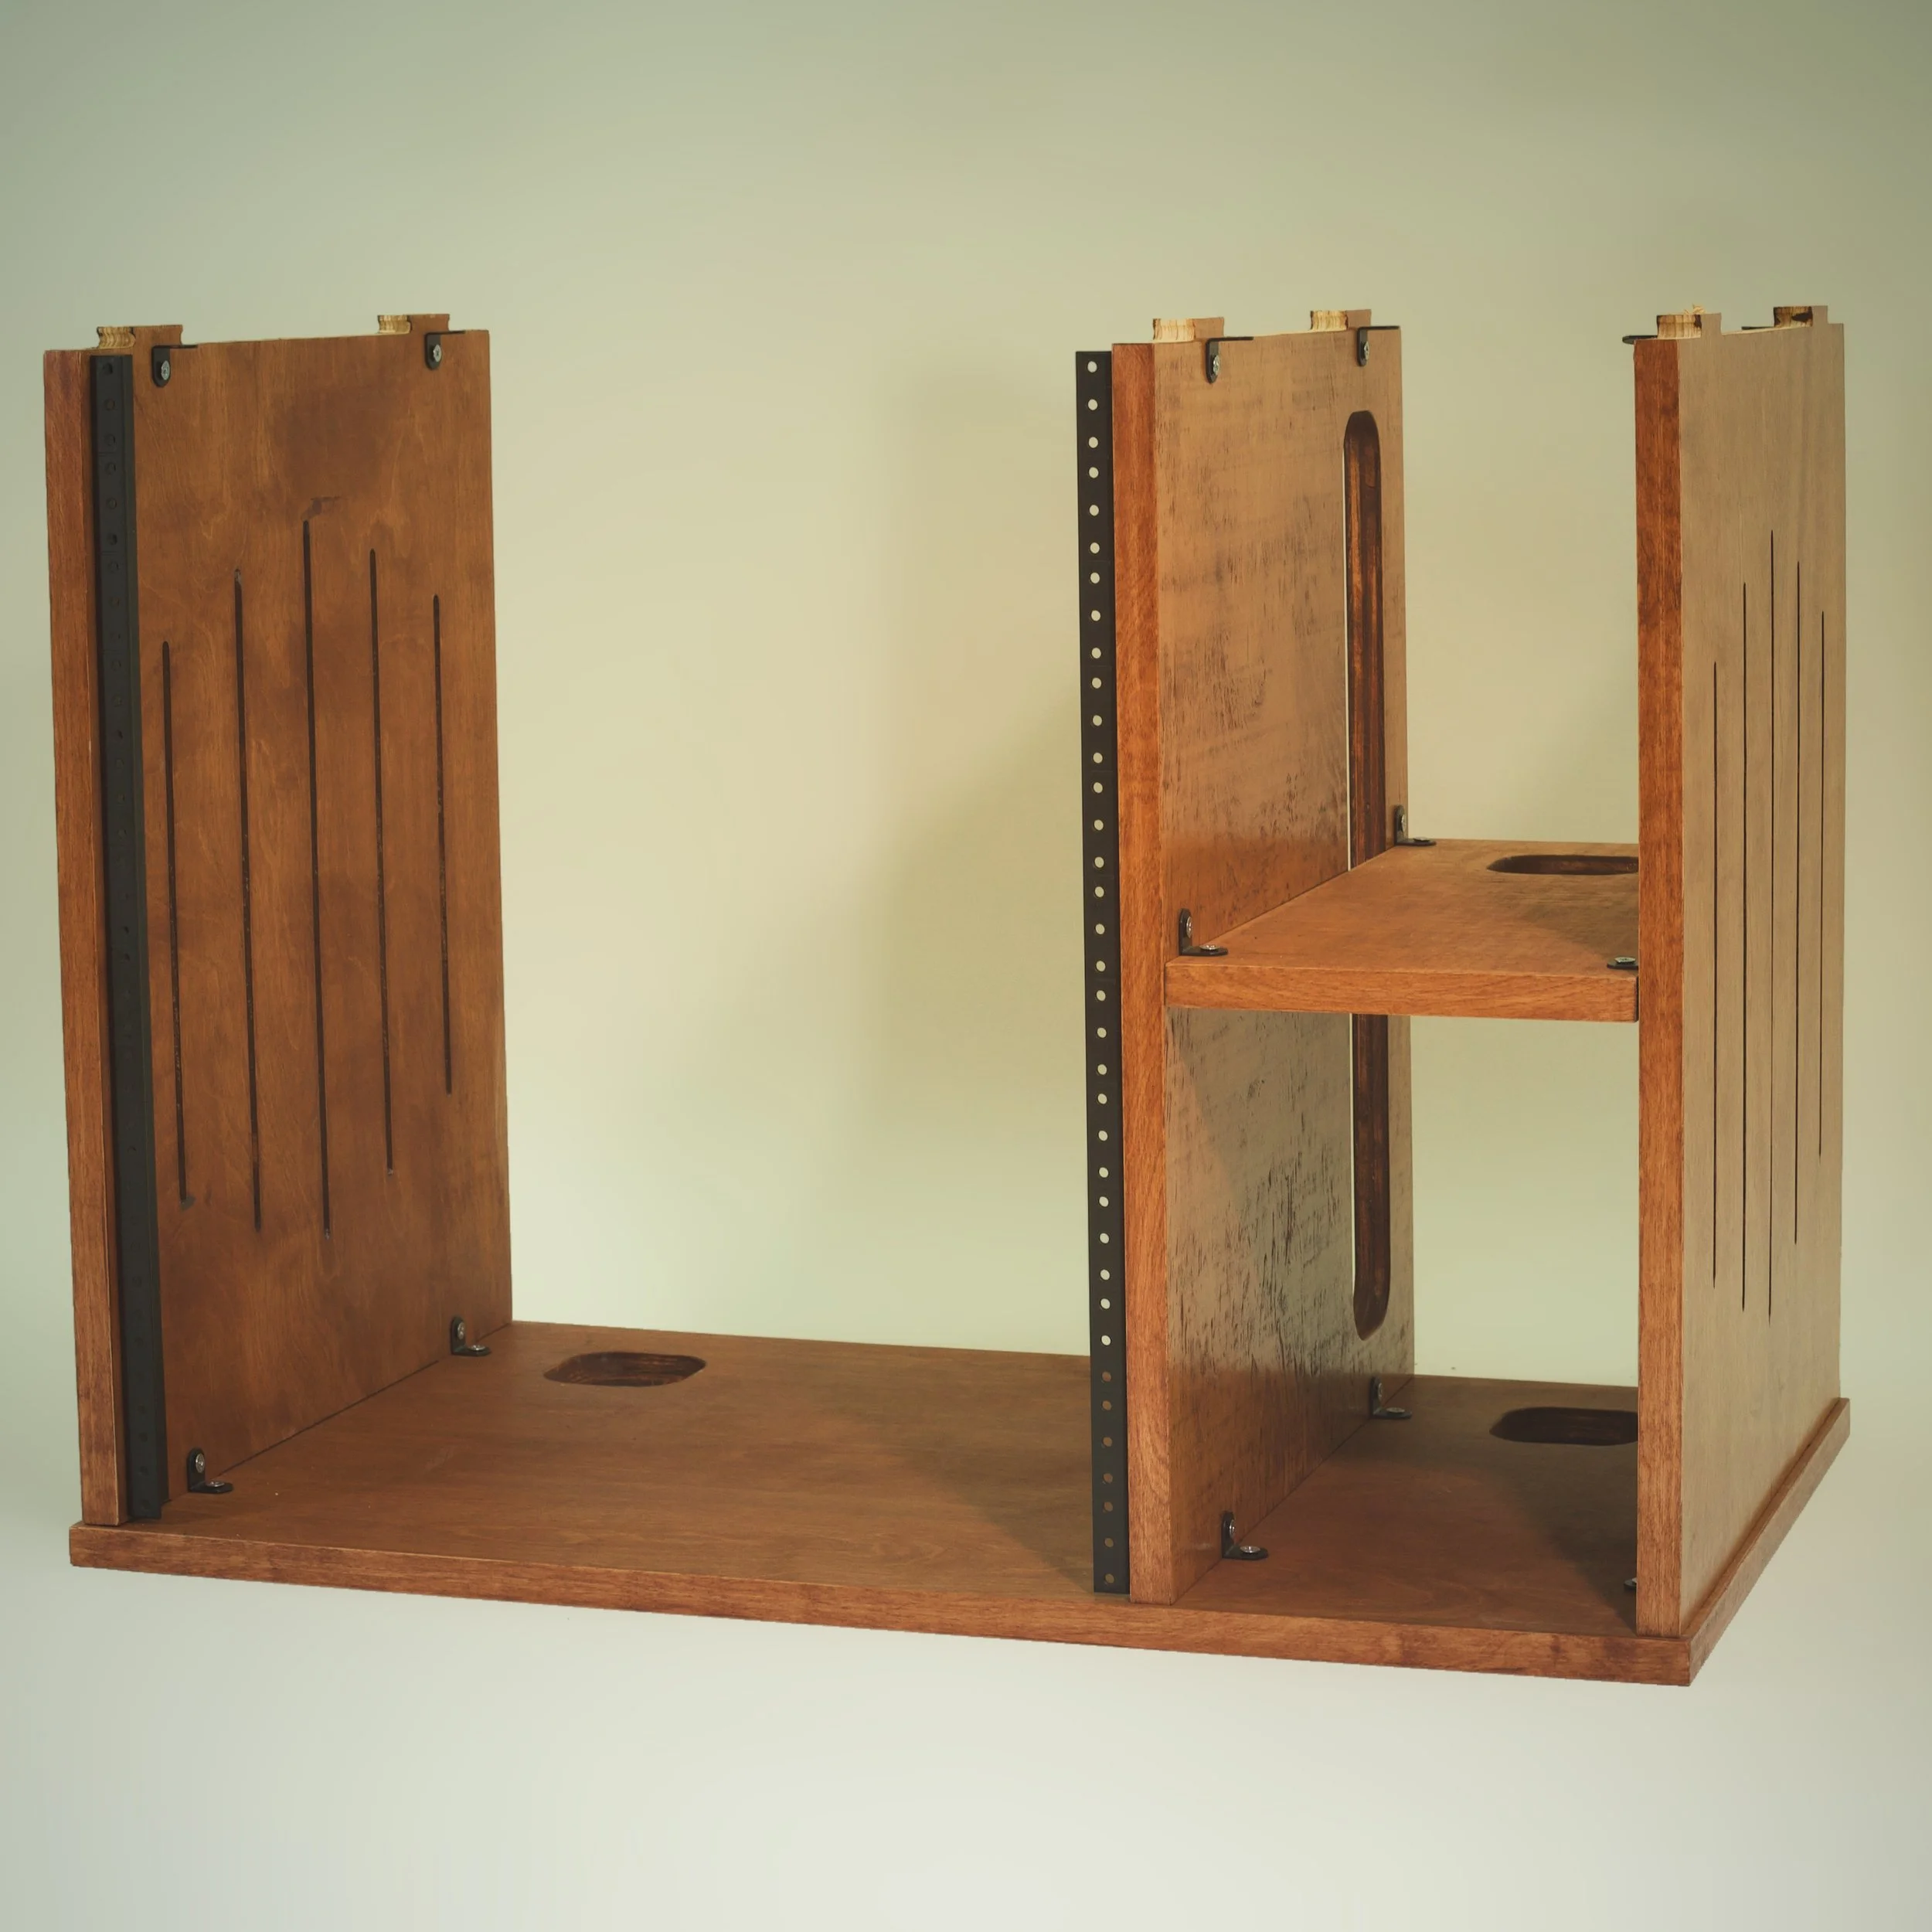
Locate the pilot holes for rack rails on these 2 pieces.

Close-up of two adjustable metal bed rail tracks mounted on wooden bed frames, with one screw highlighted in the inset.

Attach rack rails with black, #8 wood screws to both pieces.

Outline drawing of a metallic panel with a large oval cutout and four smaller circular holes, possibly a mounting plate or cover.

Locate threaded inserts on this piece.

Close-up of a wooden surface with a metal bolt hole and a hexagonal socket inside.

They look like this.

A wooden panel with screws and mounting brackets, with an inset showing a black metal mounting bracket and a screw.

Attach black angle brackets with silver m5 bolts to all threaded inserts. Make sure the brackets are facing the right direction.

Unfinished wooden tabletop with cutouts for a computer monitor, keyboard, and mice, against a plain light-colored background.

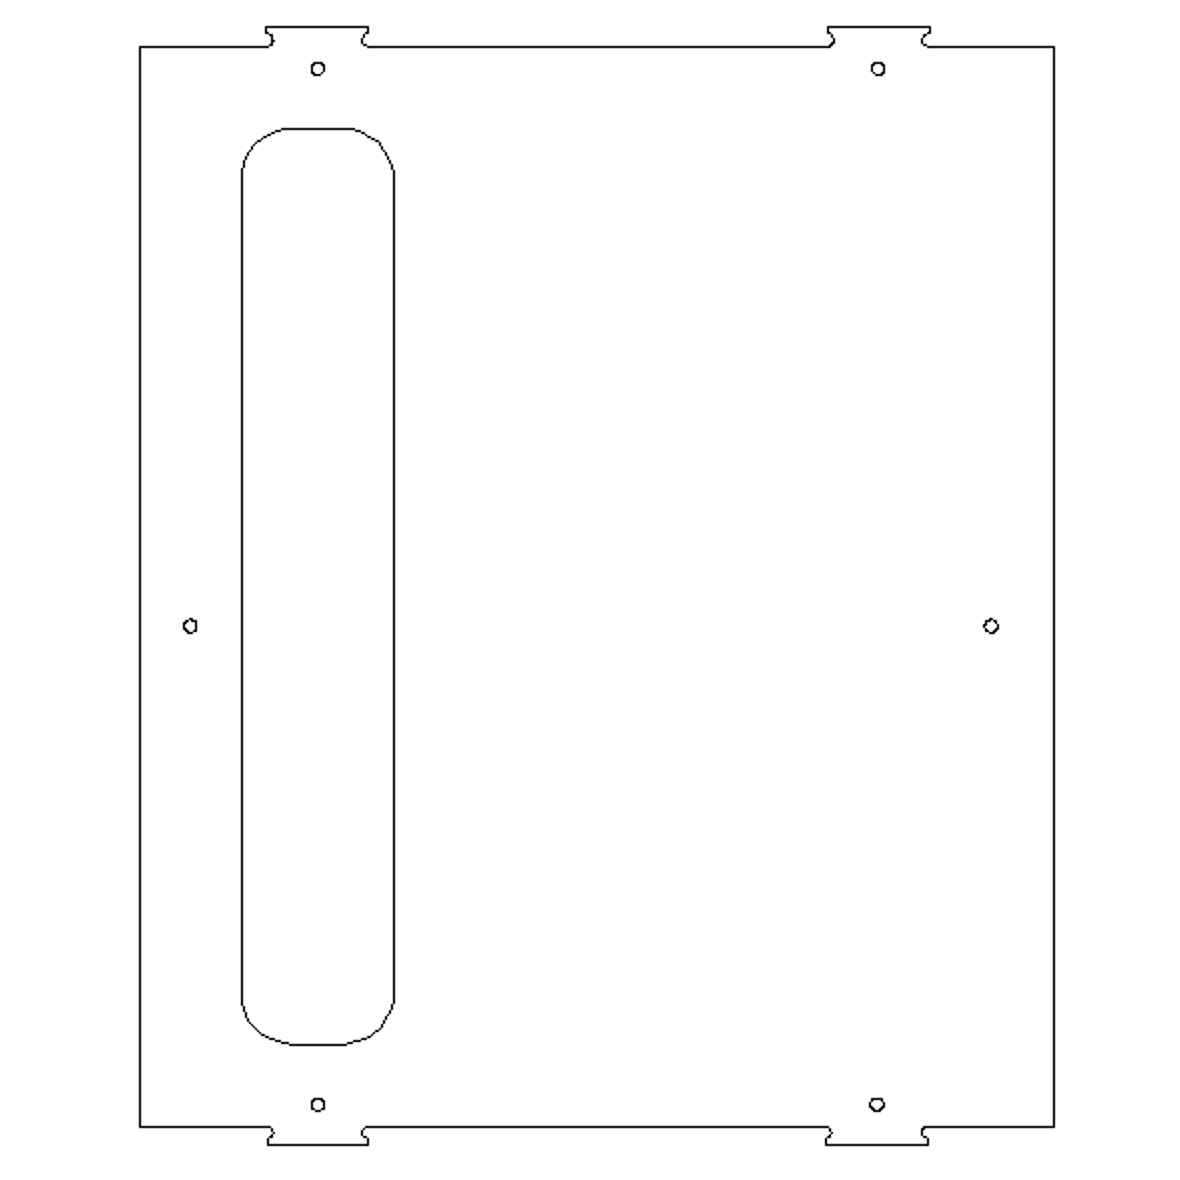
Locate the top piece. Note: we are assembling this upside-down.

Close-up of a wooden furniture piece with six small screw holes on the surface.

Make sure it’s not the one with pre-drilled holes on it.

A vintage wooden bubble hockey table with a vertical divider and built-in scoring slide.

Align the piece with brackets and rack rail to the middle pockets of this top piece and add silver bolts. Make sure the hole goes toward the back and the rack rail is in the front.

Wooden shelving unit with horizontal slats and metal brackets

Attach brackets and bolts to the other piece with the rack rail.

Unassembled wooden bookshelf with two side panels, a base, and metal brackets, on a light-colored background.

Align with pockets on left side of top piece and add silver bolts. Make sure rack rail is towards the front.

Wooden Slatted Shelf with mounting screws at corners and center on a plain white background.

Attach brackets and bolts to this piece. Notice the insert on the top is closer to the edge of the wood than the one on the bottom. Use the same arrangement as the photo.

Empty wooden loom with vertical side panels and adjustable components, on a light background.

Align with pockets on the right side of the top piece and add silver bolts. Make sure brackets in the middle are facing down.

Wooden bookshelf or display stand with adjustable shelves and vertical dividers.

Attach shelf to brackets with silver bolts. Make sure cable port is towards the back.

Empty wooden shelving unit with various compartments, holes, and slots for adjustable shelving.

Align bottom piece with pockets and add silver bolts.

Close-up of a black electronic device mounted on a wooden surface, showing mounting holes and part of the device's internal mechanism.

Line up casters with pre-drilled holes on the bottom piece.

A black roller skate wheel attached to a metal frame, mounted on a wooden surface with four screws, with an inset showing a black screw.

Attach casters with screws shown in photo.

A wooden rolling cart with shelves and two holes in the top surface.

Flip over and load with gear.