fbq('track', 'ViewContent', {
content_ids: ['123'], // 'REQUIRED': array of product IDs
content_type: 'product', // RECOMMENDED: Either product or product_group based on the content_ids or contents being passed.
});
Locate pilot holes for rack rails on both side pieces.
Attach rack rails with black, #8 wood screws to both side pieces.
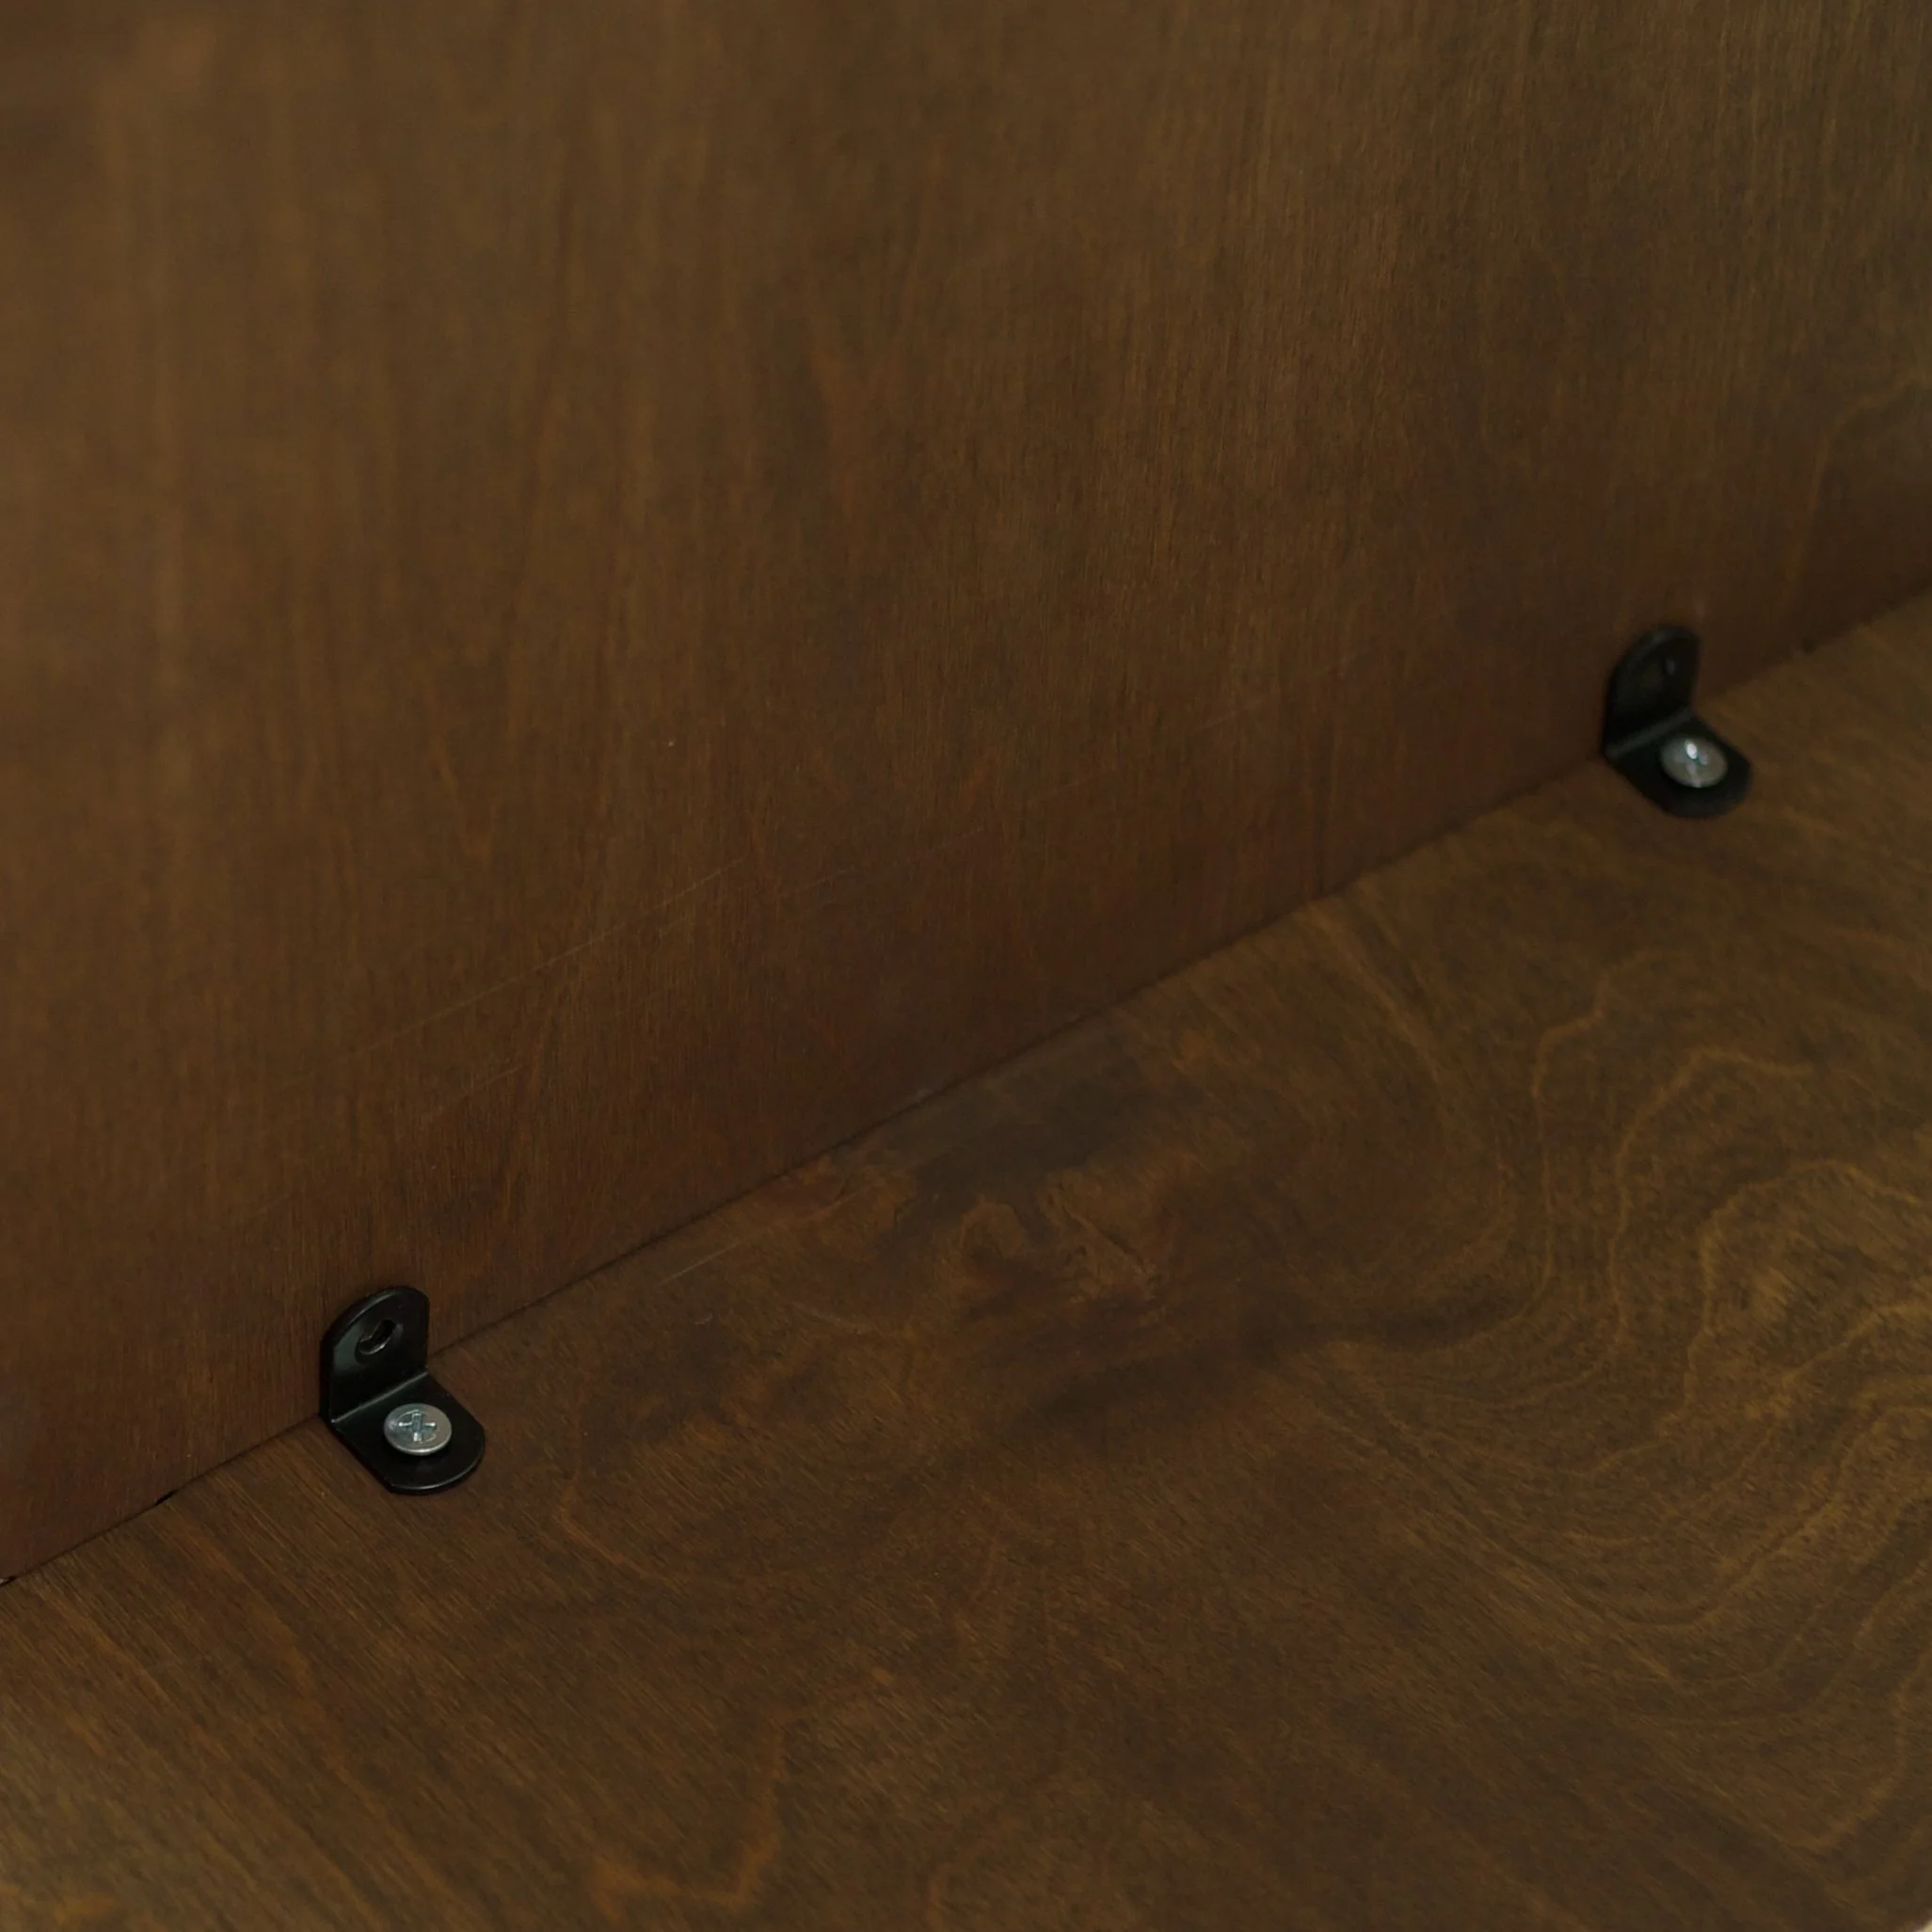
Locate threaded inserts on side pieces.
Attach black angle brackets with silver m5 bolts to all threaded inserts on both side pieces. They should be facing the recessed pockets near them.
Locate the pilot holes for the hinges and attach mounting plate with small, silver wood screws. This can be done on either side of the rack, depending on which side you want your door to open.
Locate the pieces with tenons.
Insert into corresponding pockets on 1 of the side pieces. The spacing only allows them to go in the correct way.
Confirm the brackets line up with the threaded inserts on these new pieces and attach with m5 bolts.
Attach all pieces with tenons into this side piece.
Attach other side piece on top and fasten with m5 bolts.
The only piece left is the door. Locate round recessed pockets.
Attach hinge cup plate with small, silver wood screws.
Slide onto mounting plate, under the screw that is already attached and tighten it down.
Now that the door is on, locate the pull and 2 mounting bolts.
Insert the bolts from the inside of the door.
Line up the pull with the mounting screws and attach. (Side note: You can replace this with any cabinet pull of your choice with standard 3” spacing.)
Attach door stop anywhere inside the cabinet to keep door at a 90º closing position.